My parents had two of Karcher window vacs after they lost a charger or one of them broke. I took one, without a charger off their hands. It wasn’t totally broken but on pressing the button it only ran for a second or two before turning off
I promptly ordered a charger from ebay. Once it arrived and I plugged it in I found that the green status led in the handle blinked a bit. And then promptly started blinking very rapidly which suggested to me it wasn’t happy. This was reinforced by the fact that once I unplugged it the blinking continued.
After doing some googleing and watching a couple of youtube videos I convinced myself it was worth taking apart to try and fix. It seemed like a common problem was a corroded battery due to water ingress which people readily solved by replacing the battery.
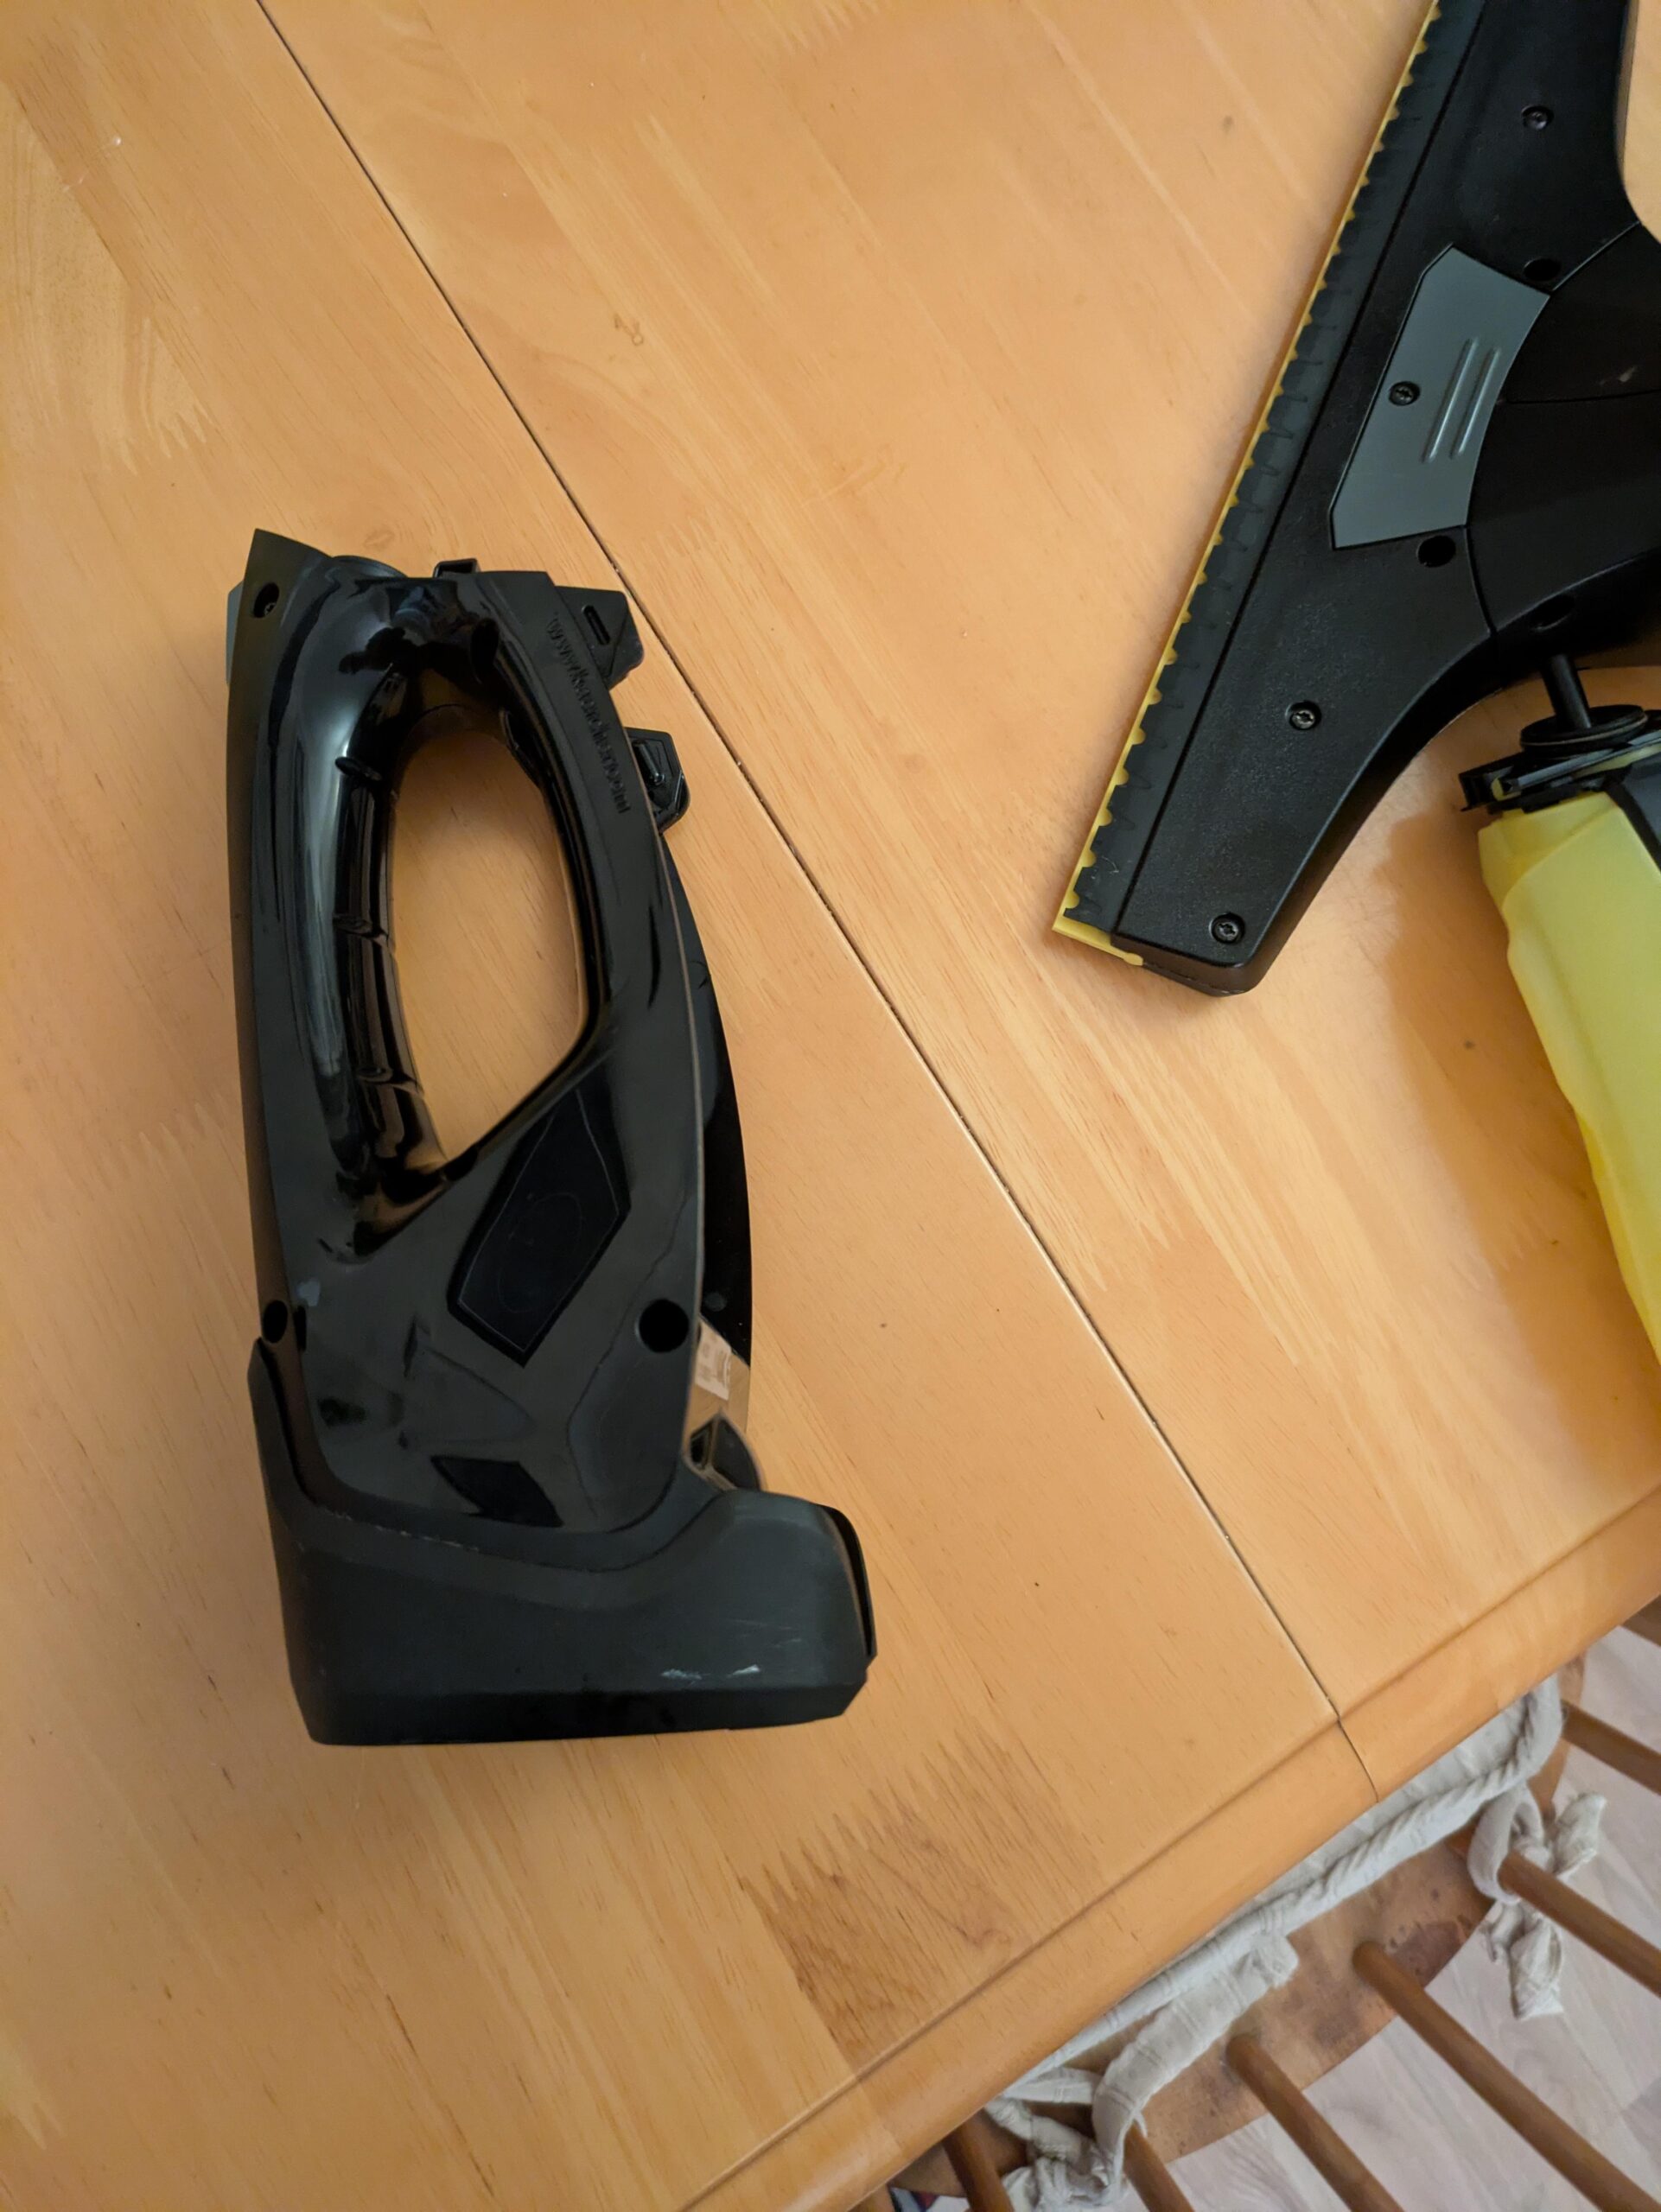
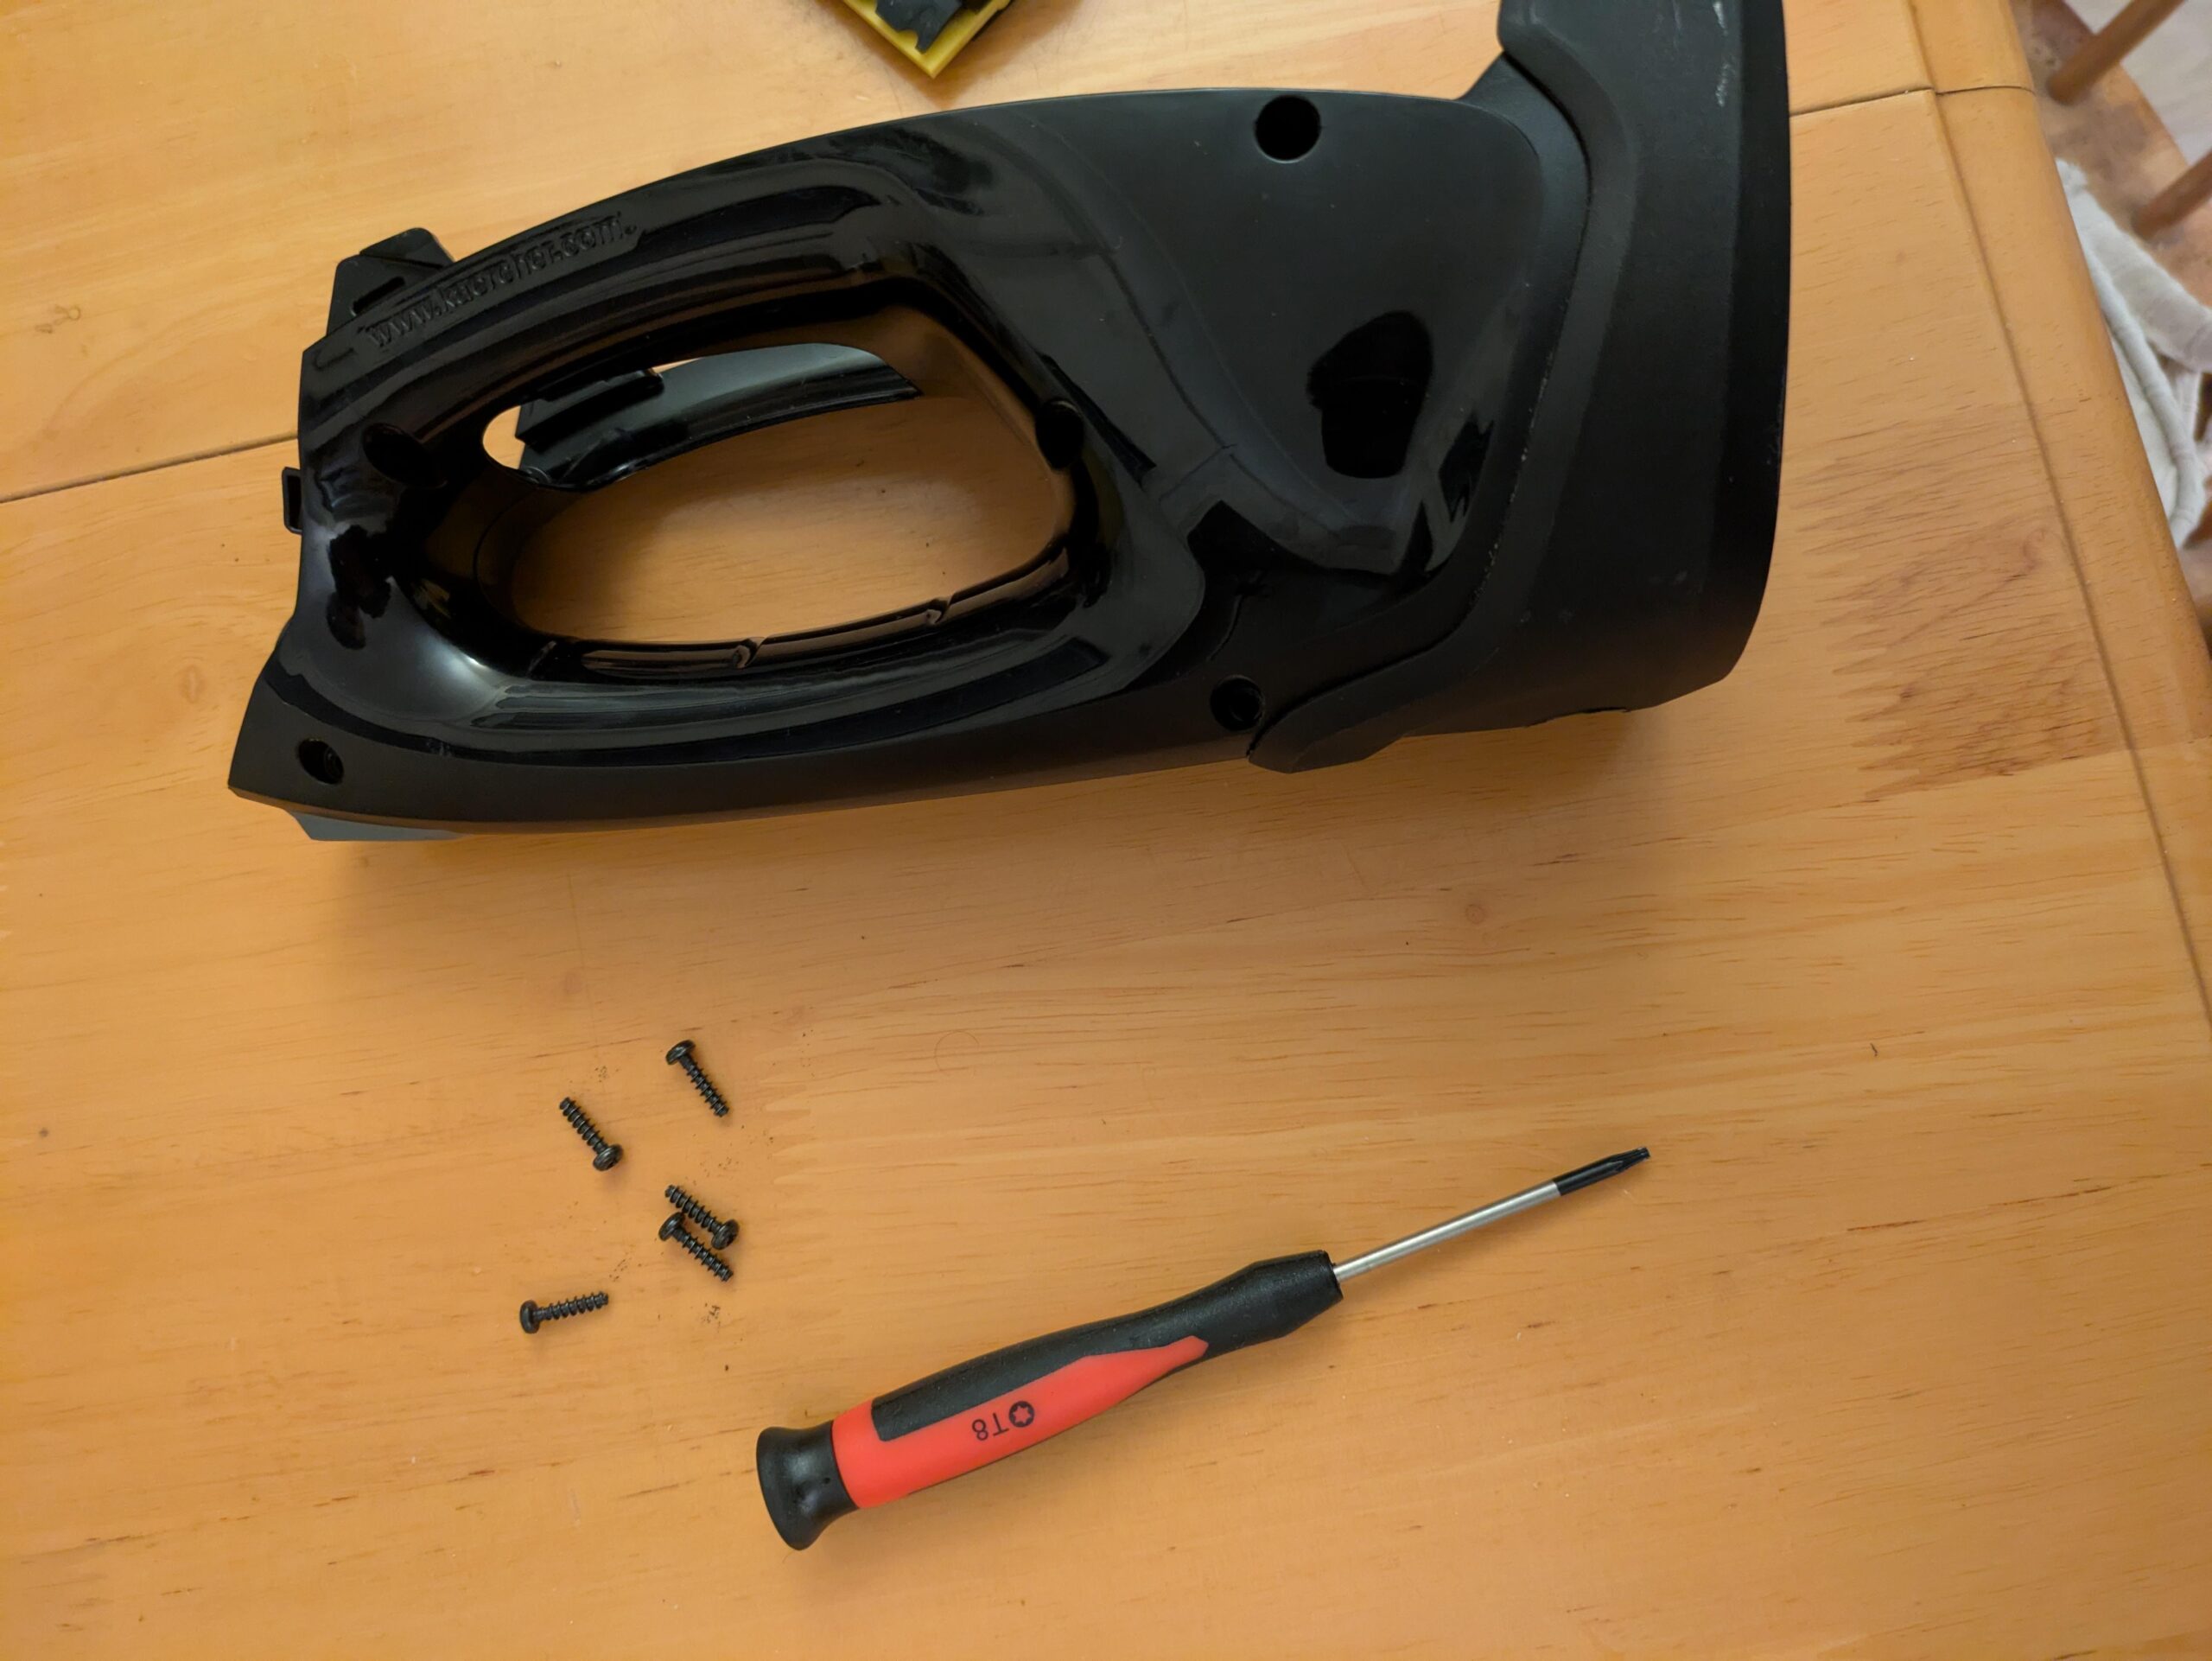
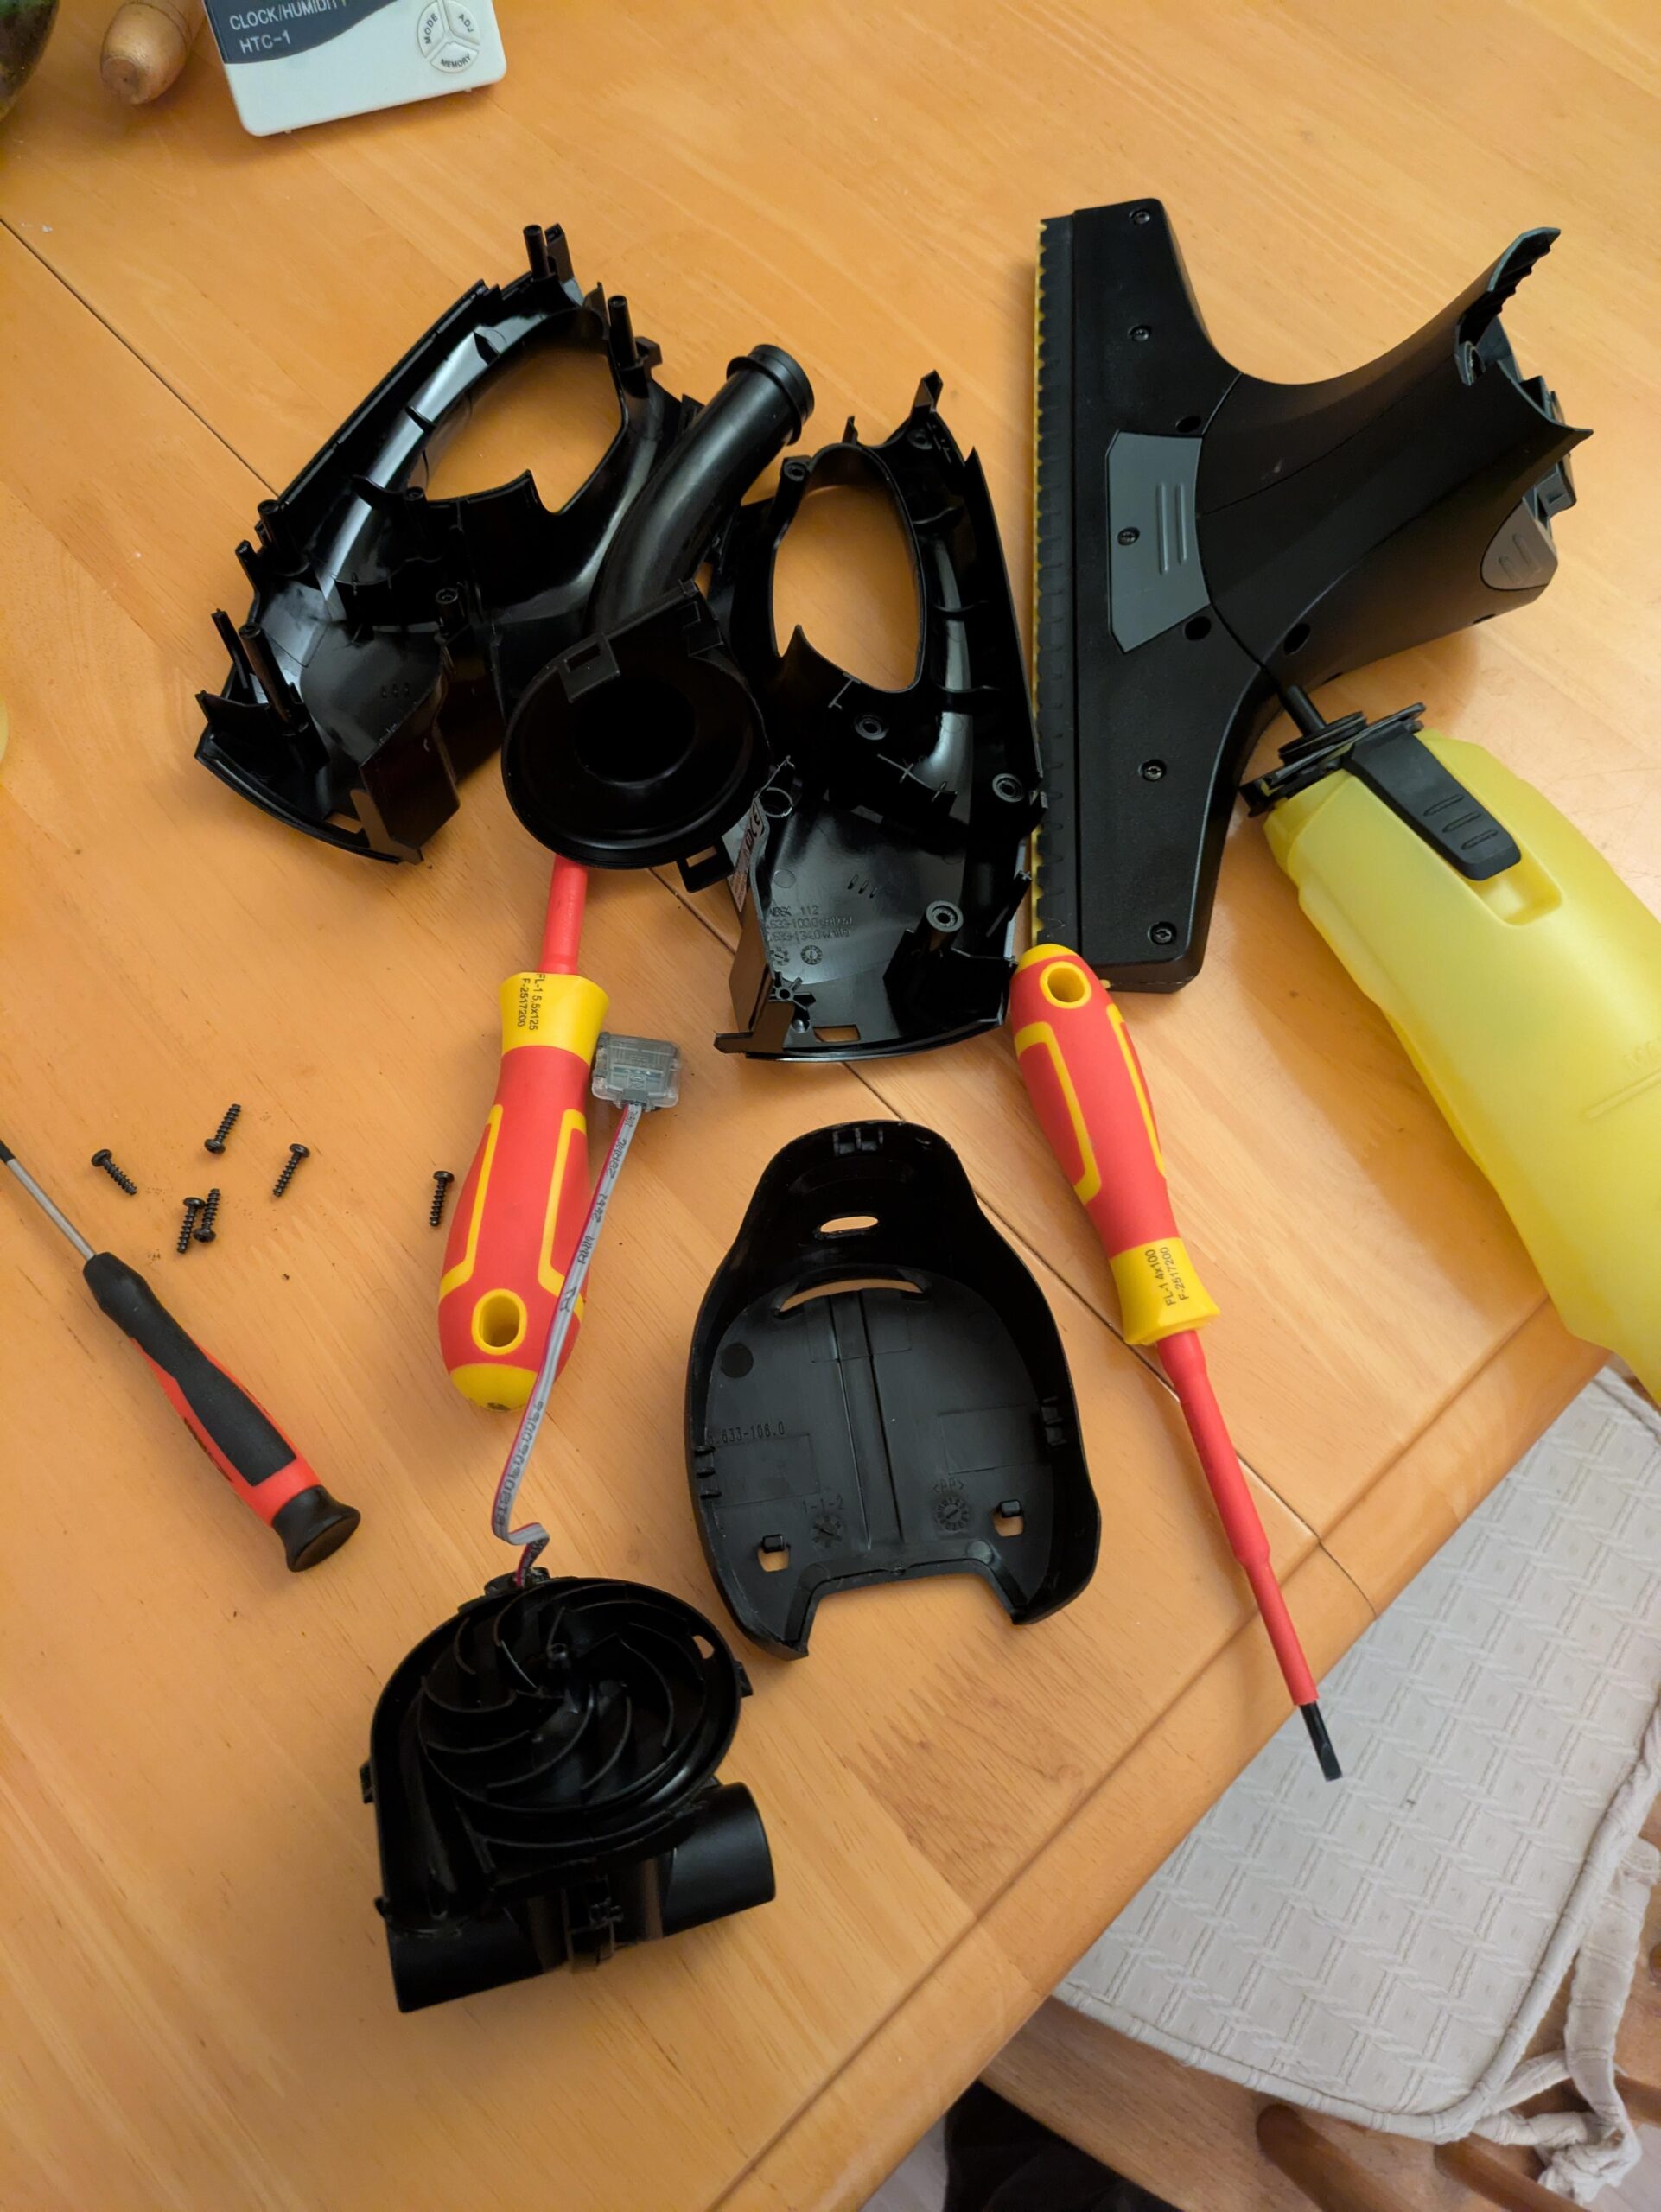
I made my second investment of this project and got a set of long shafted precision torx screwdrivers from screwfix and took the thing apart.
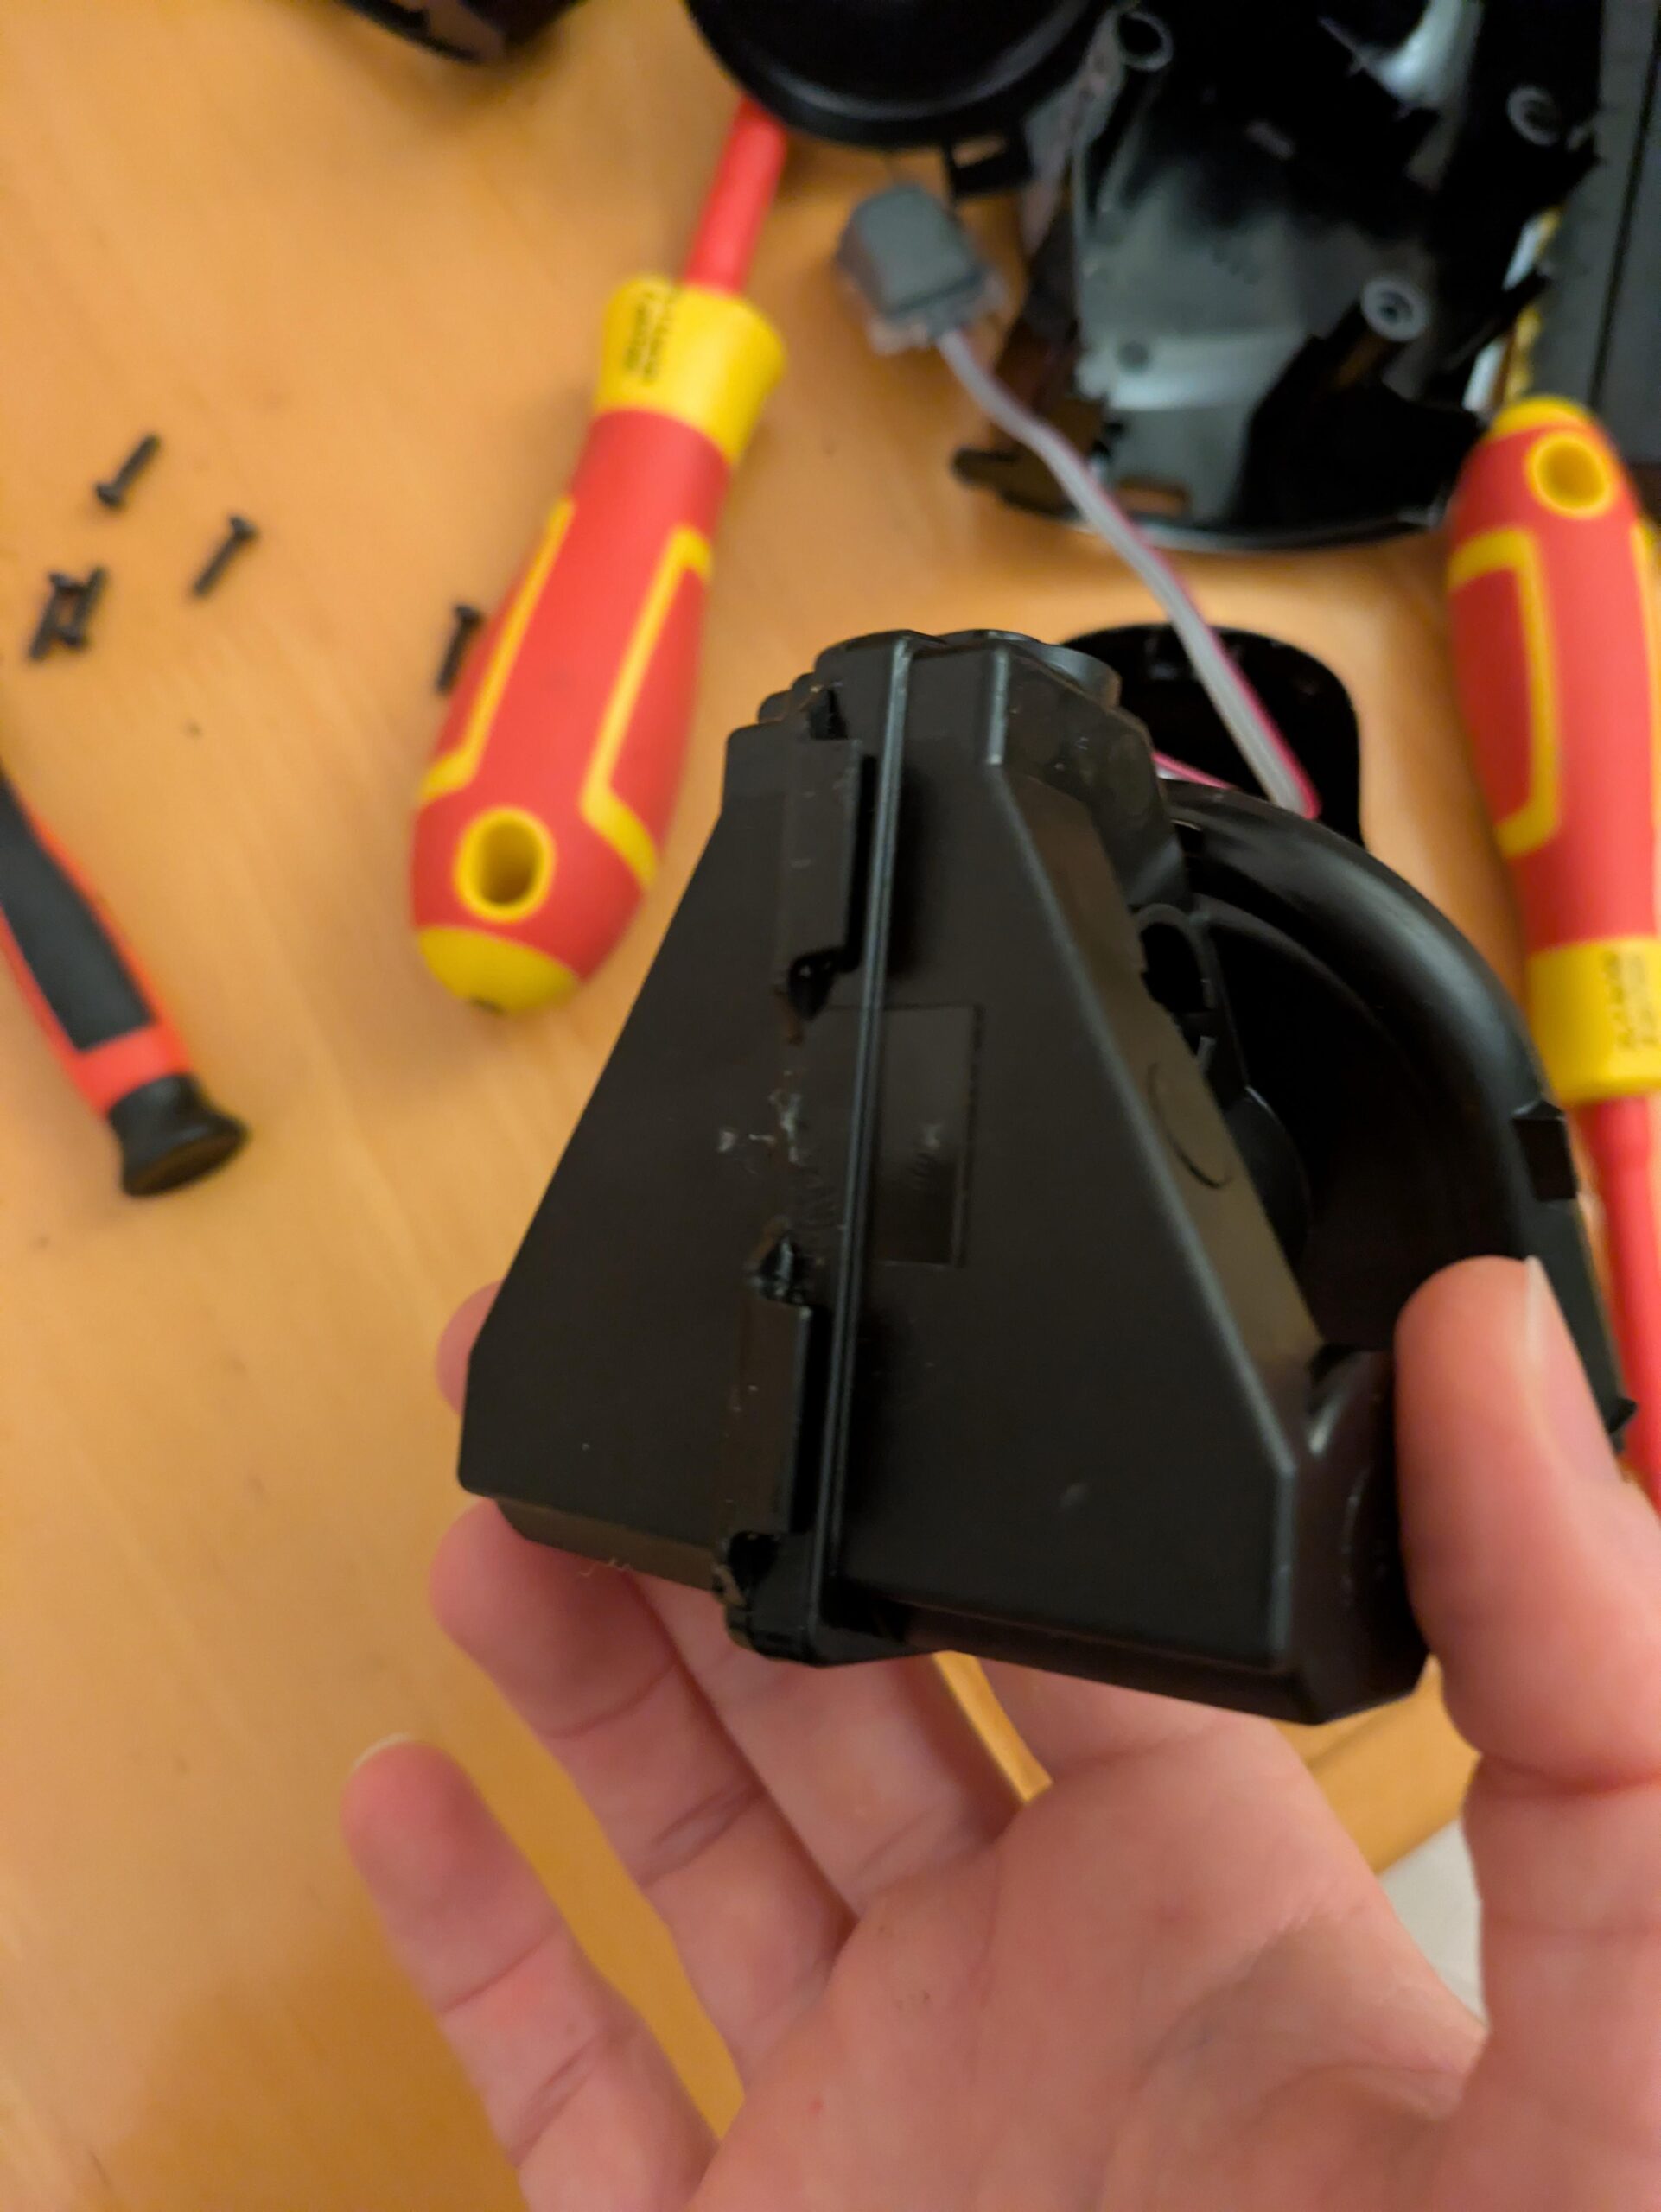
Disassembly was relatively easy.
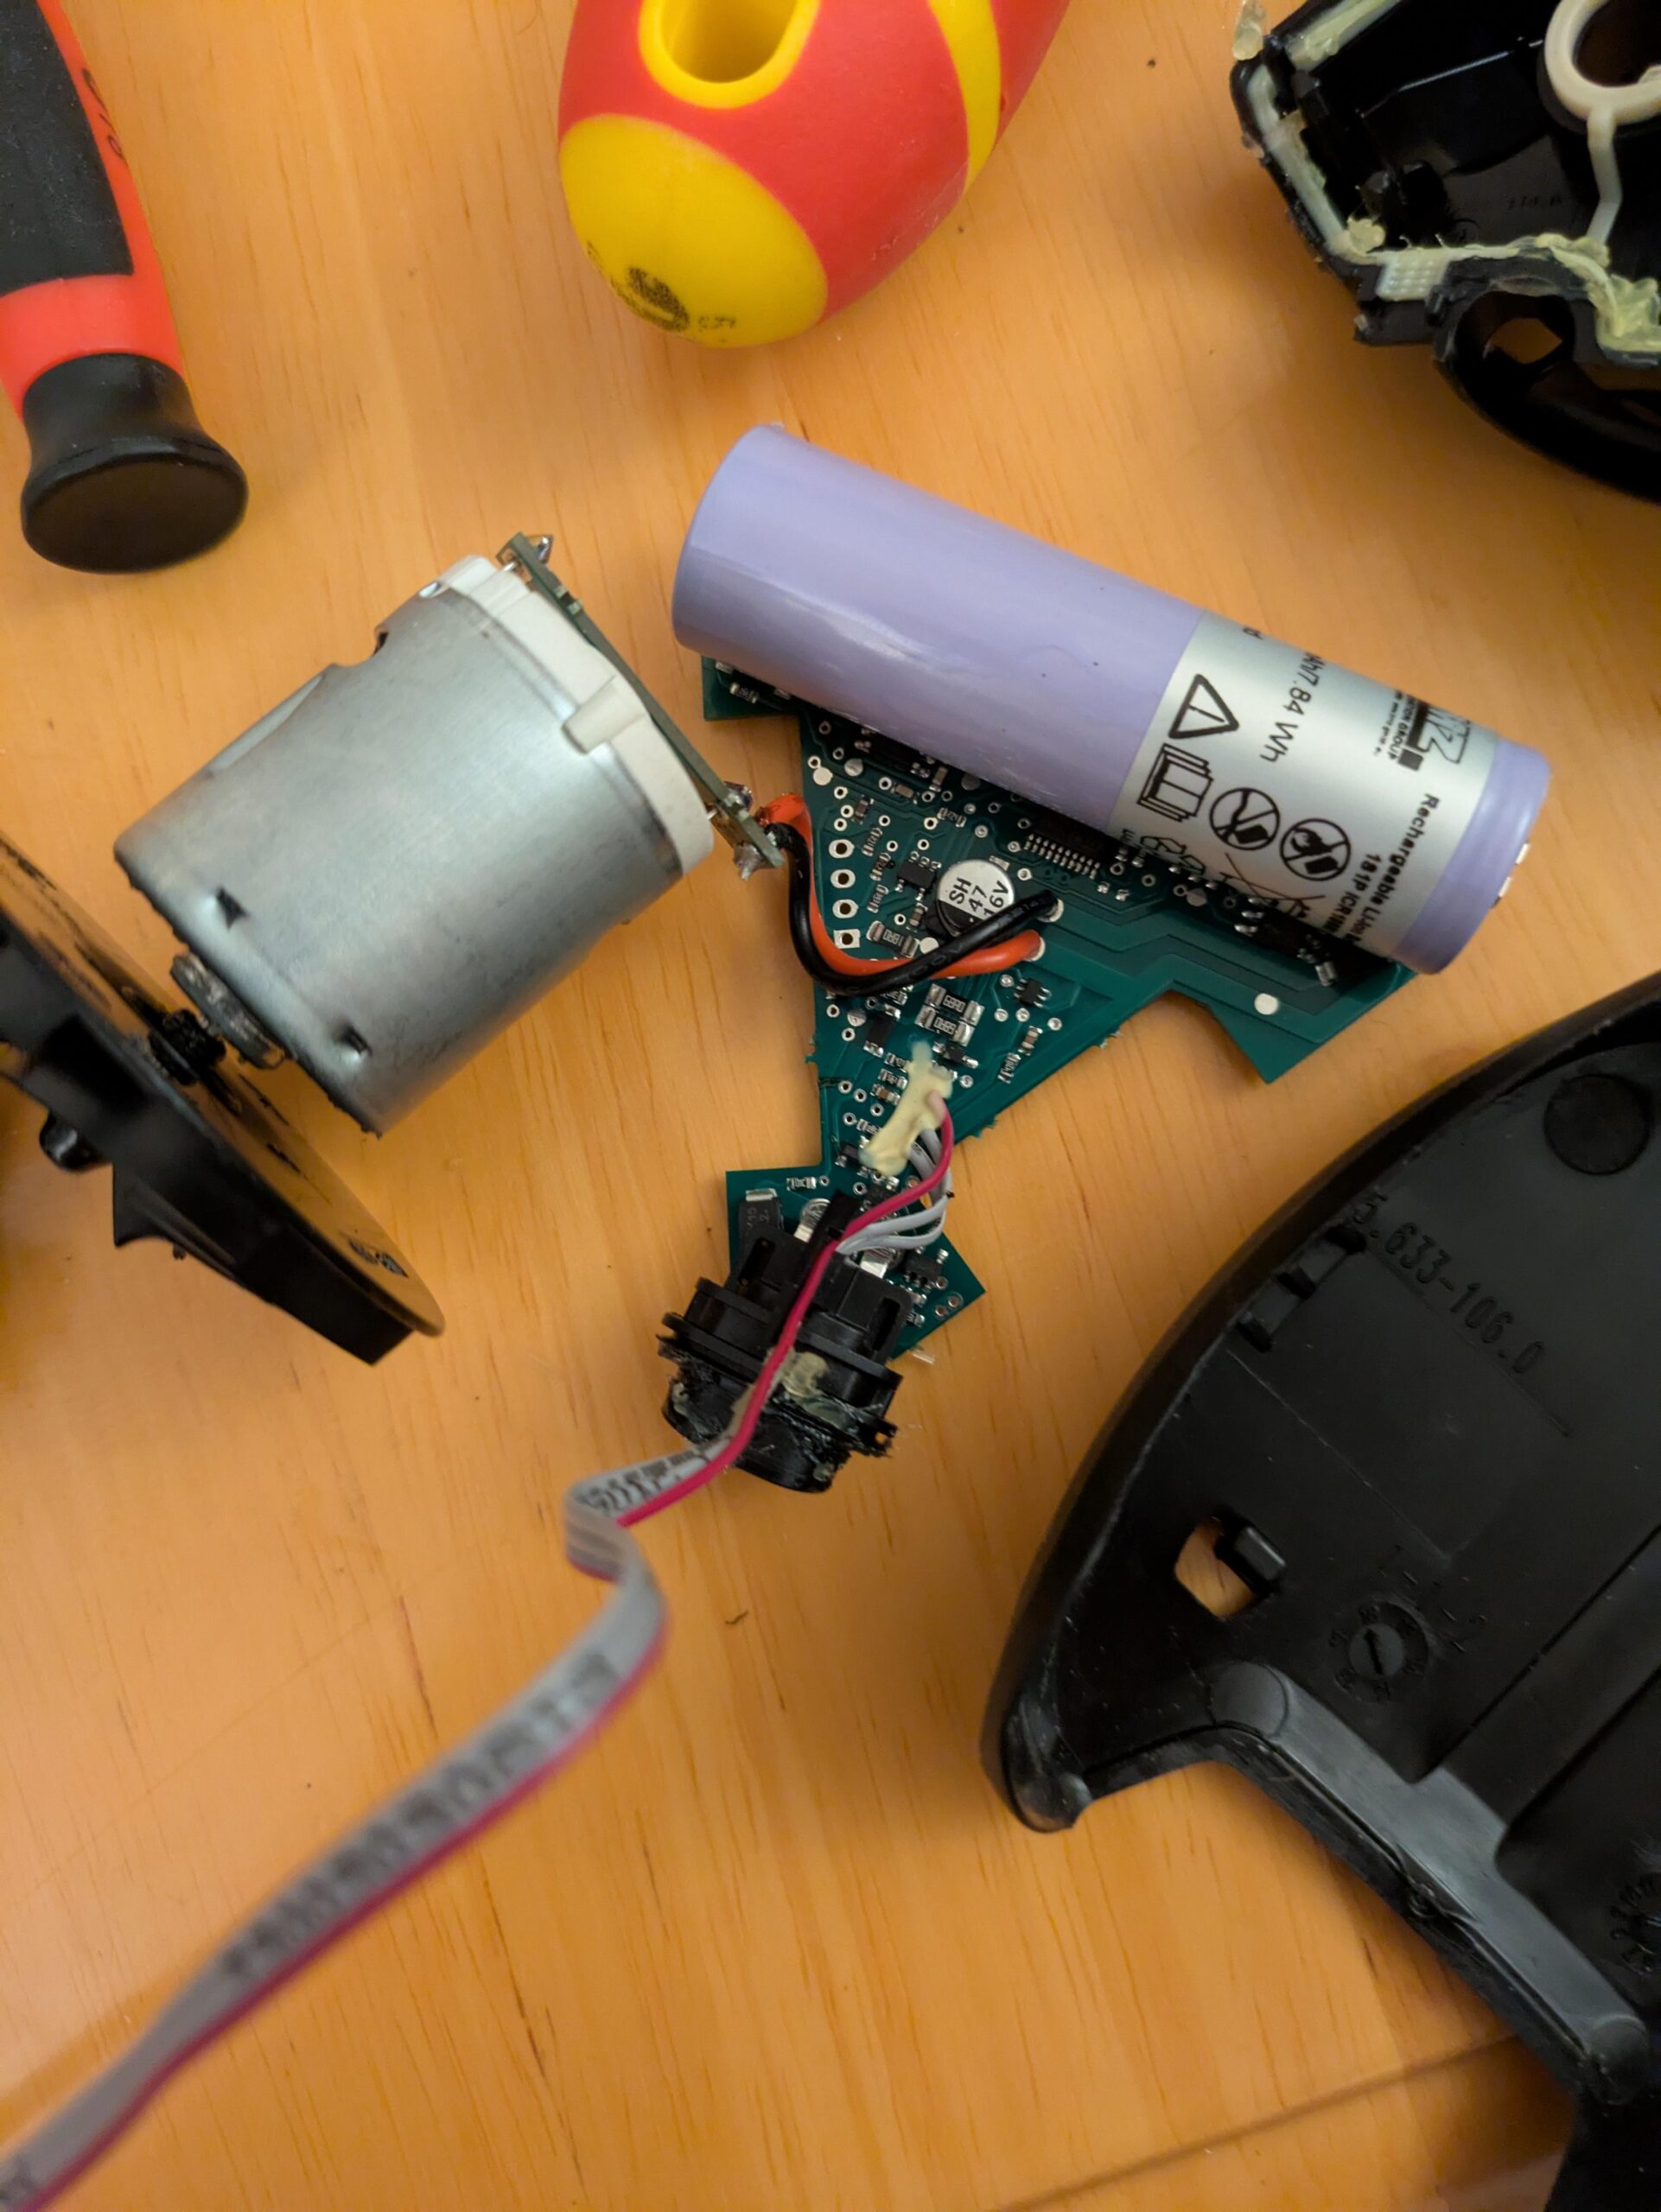
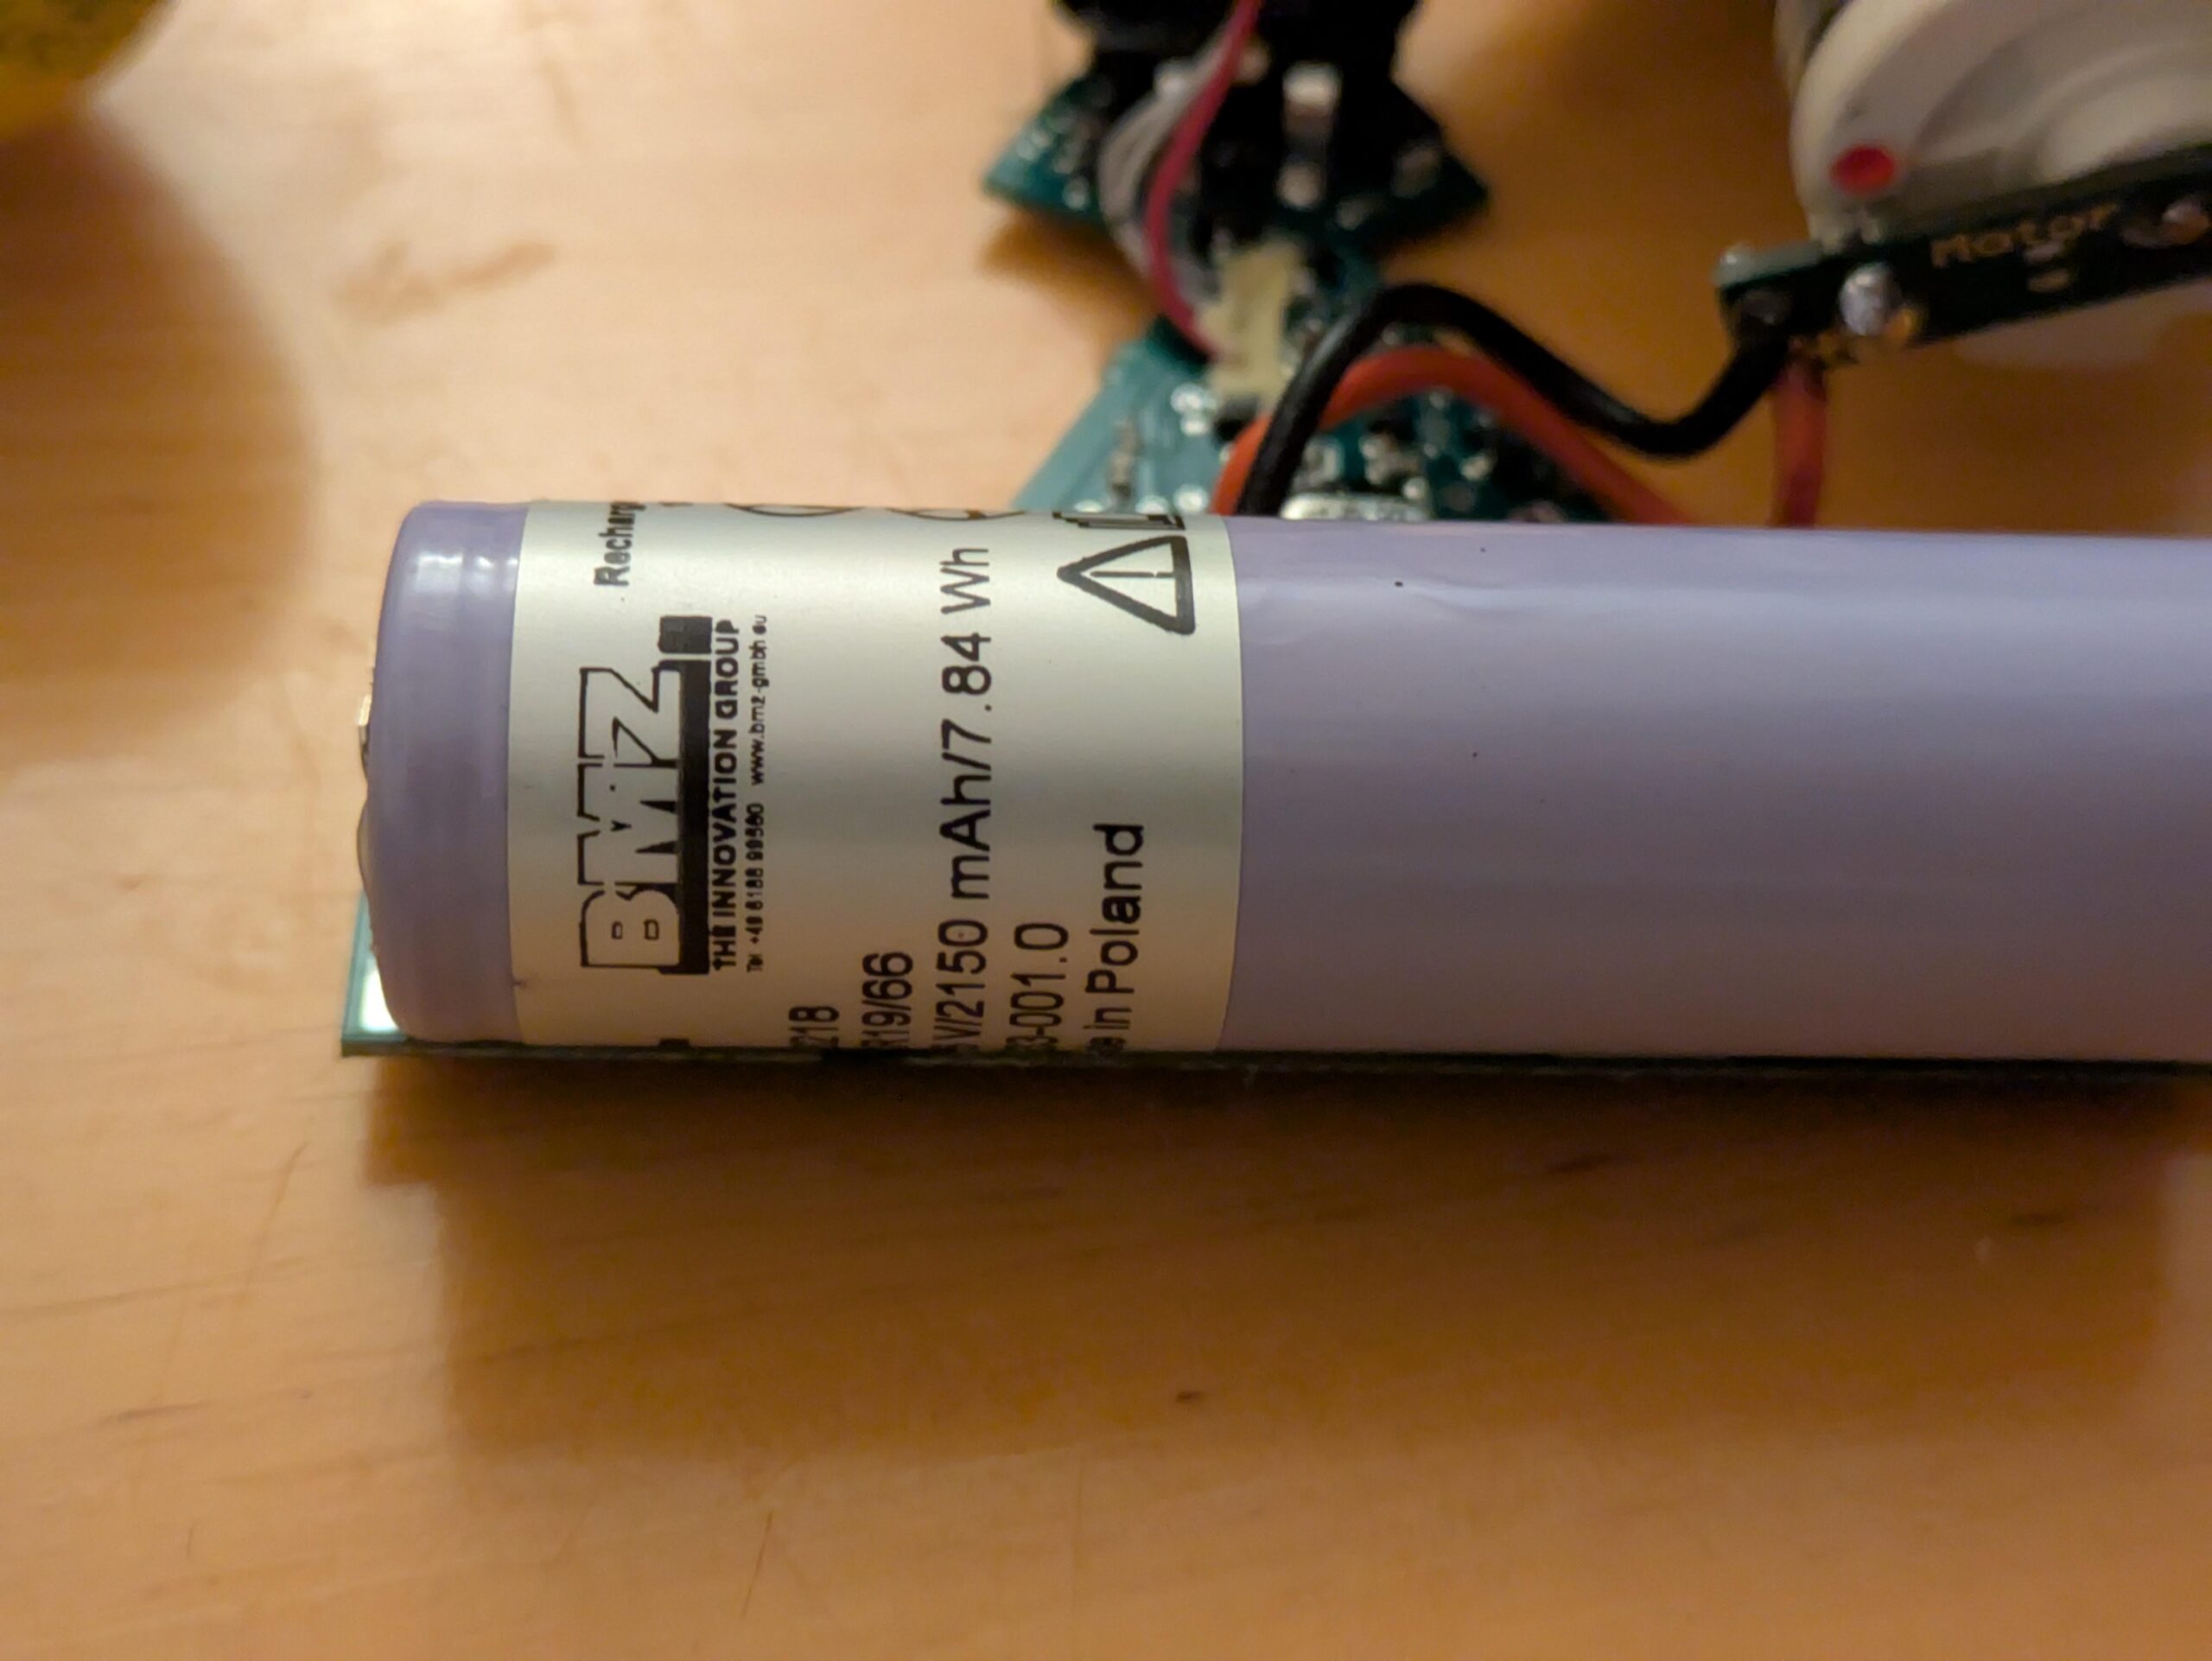
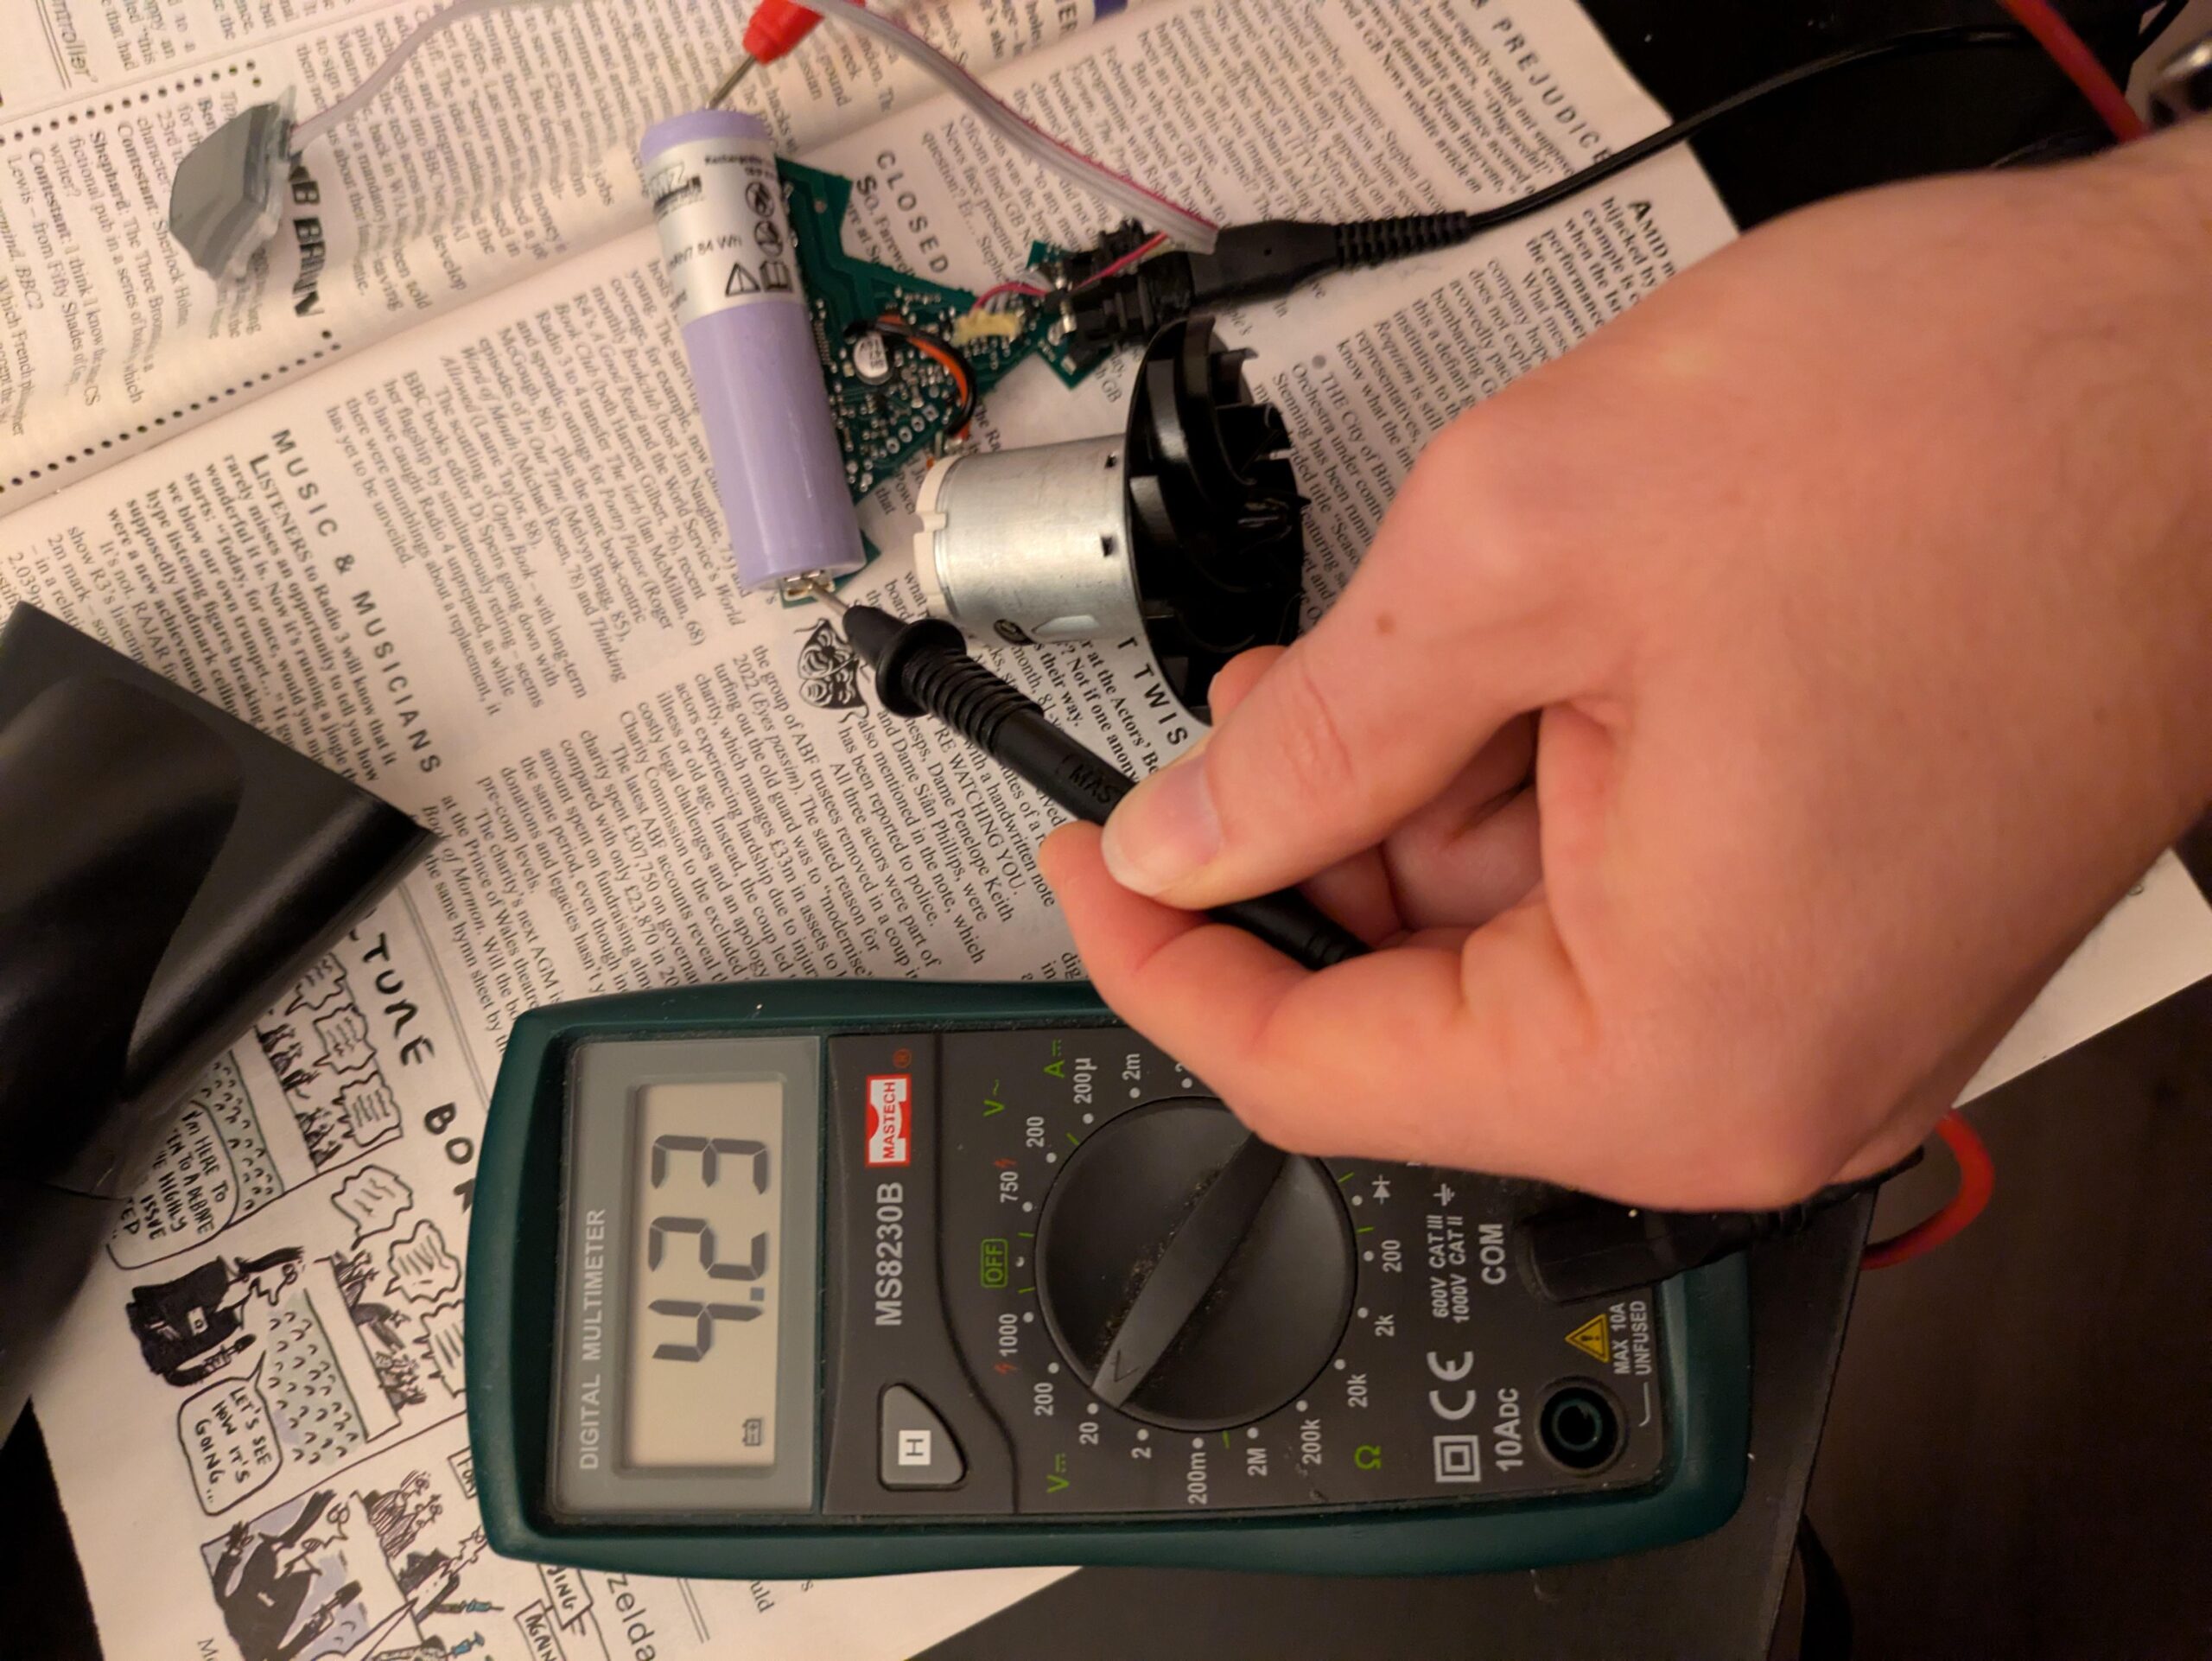
So what was the issue? It seems the issue is probably that the battery had over discharged and the charging circuitry was now refusing to charge it from such a low starting point. I stuck a volt meter on it and saw it was down to around 2.90V. It should be 4.2V fully charged and probably at least 3.6V.
At this point I could have resorted to the same solution that other people did with corroded cells: just swap them out but then I’d have to spend more money on ordering a new one and make sure it had tabs in the right place etc. I decided I’d get creative.
I hoped that just upping the voltage a little bit would convince the cell to start charging. I naively tried to do this my heating the cell with a hairdryer. This did indeed seem to trick the cell into charging with the charger. I could now see a charging voltage being put across the cell and the green light was merrily blinking away.
Sadly as it cooled down my fast blinking LED returned and it was no longer charging. I actually spent a while trying to keep it at a sweet spot temperature: warm enough to charge but cool enough I wasn’t too worried about starting a Lithium battery fire. Interestingly this didn’t work and actually after trying to keep this up for a while my cell was now down to 2.86V.
I’d just about given up and was thinking about ordering a new cell to solder on when I remembered we had an 18650 battery charger we’d used in the past for torches. I hoped this was suitably “dumb” to not care about the low voltage and that it would fit without desoldering anything.
Happily it did! Given a few hours to get it back up to voltage and then some reassembly and I have a working window vacuum with no soldering required!